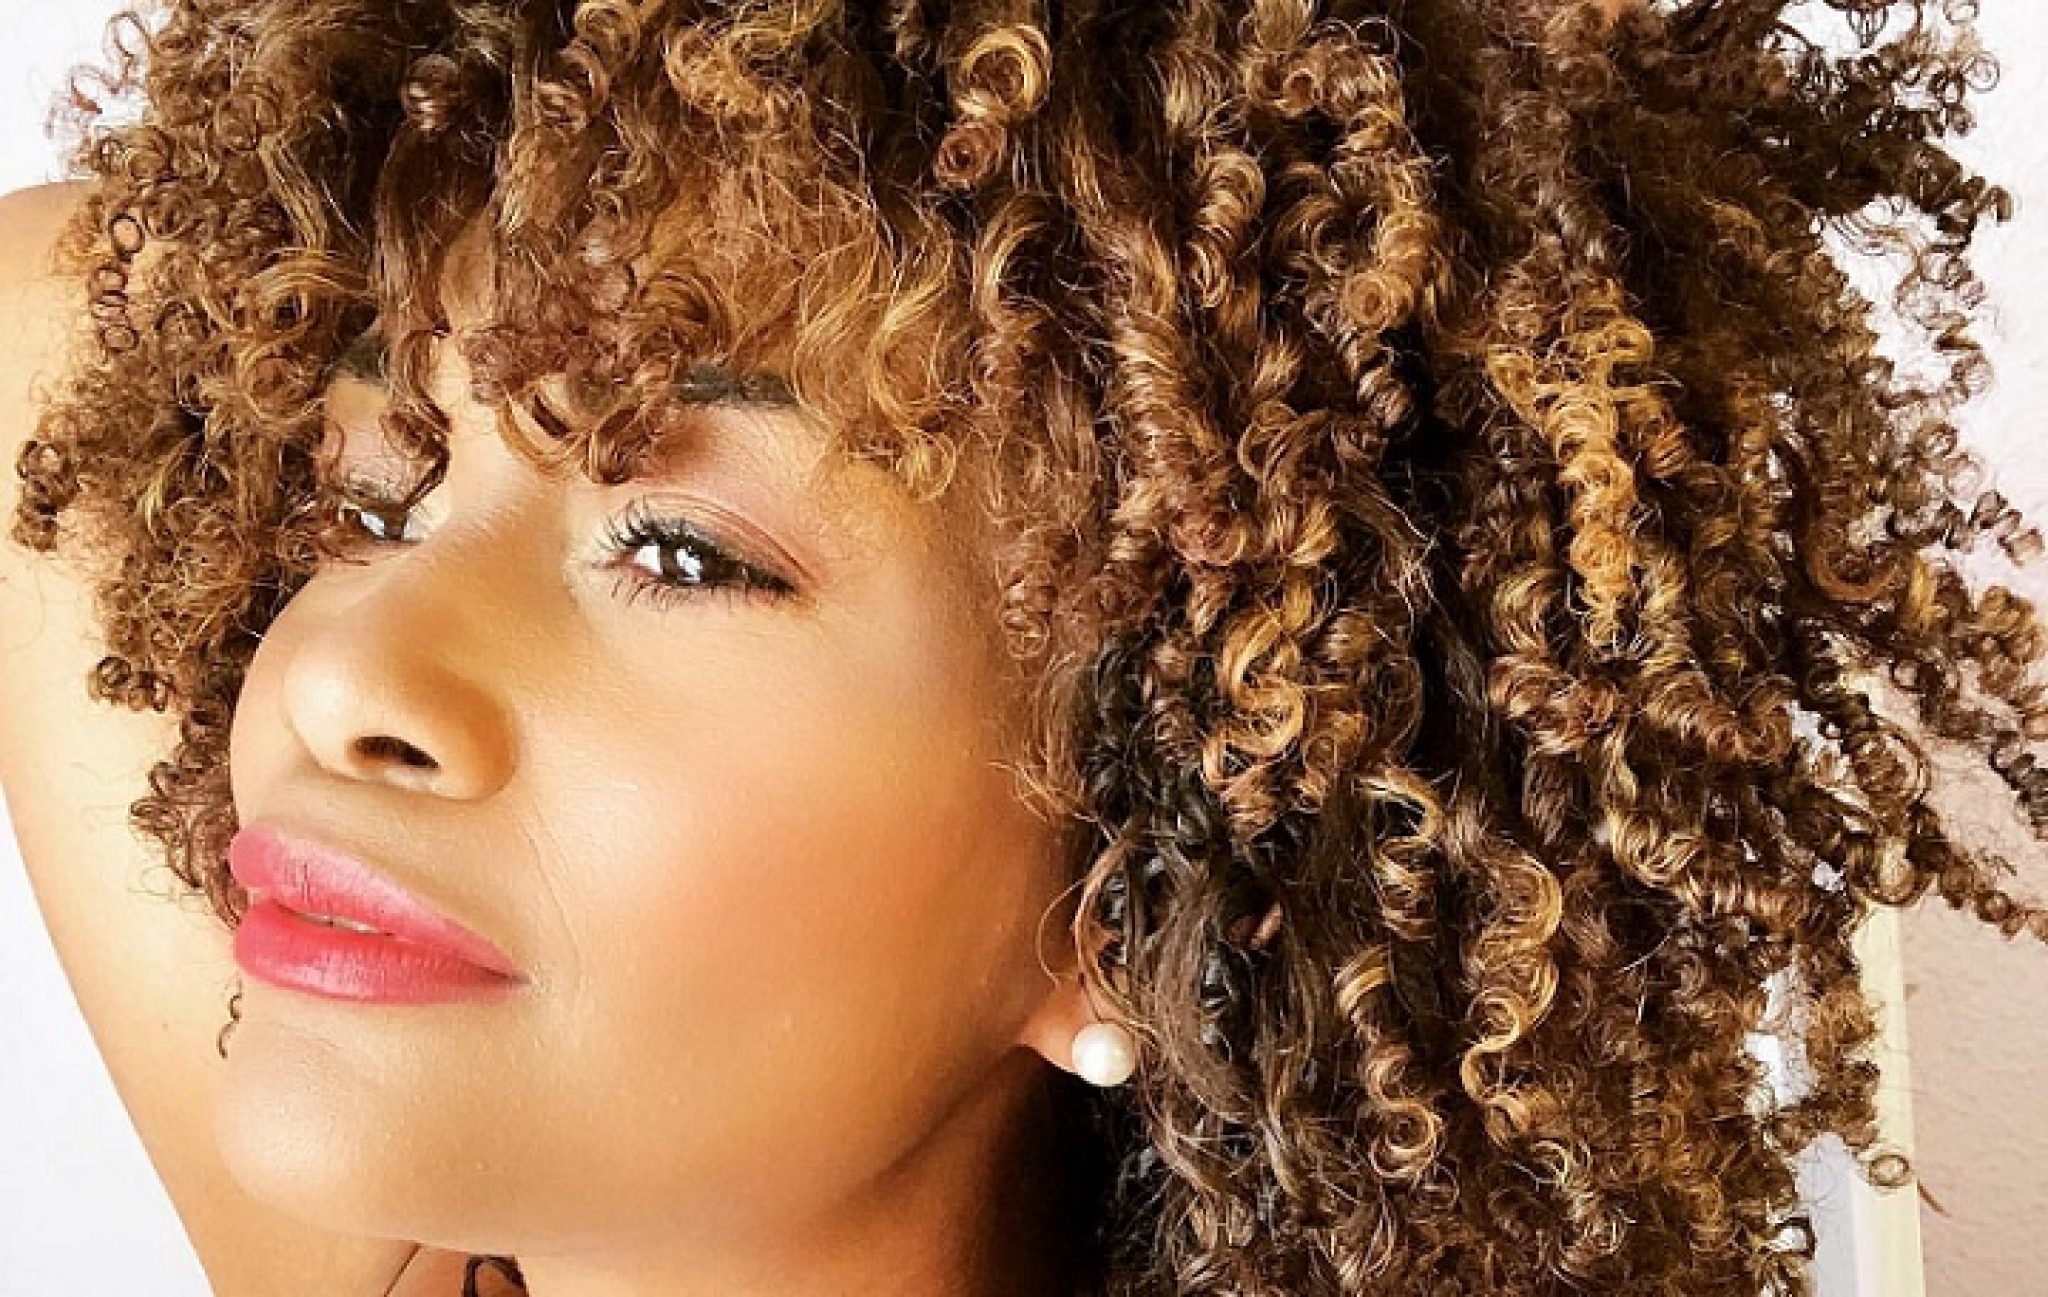
Ever wondered how to achieve those perfectly bouncy curls with gel? Well, you’re in the right place! Gel curling is not just about slapping some product on your hair and hoping for the best. It’s an art form that can transform your locks into a work of beauty. Whether you’re a newbie or a seasoned pro, this guide will walk you through everything you need to know about gel curling. So, let’s dive in and make your hair dreams come true!
Gel curling has taken the beauty world by storm, and for good reason. It’s a game-changer when it comes to achieving long-lasting, defined curls without the frizz. But here’s the thing—there’s more to it than just applying gel and twisting your hair. The technique, tools, and even the type of gel you use can make or break your results.
If you’ve ever struggled with limp curls or dreaded the post-curl frizz monster, don’t worry—we’ve got your back. This article is packed with tips, tricks, and insider secrets to help you master the art of gel curling. Let’s make your curls pop and keep them looking fresh all day long, shall we?
- Alana Cho Nudes Debunking Myths And Understanding Privacy In The Digital Age
- Camilla Araujo Onlyfans Leaked A Comprehensive Look Into The Issue
Why Gel Curling Is a Must-Try
Let’s face it—curling your hair can sometimes feel like a hit-or-miss situation. But gel curling changes the game. Unlike other curling methods, gel curling gives you more control, definition, and longevity. Plus, it’s super versatile—you can use it for tight spirals, loose waves, or anything in between.
Here’s why gel curling should be at the top of your beauty routine:
- Defined Curls: Gel locks in moisture and defines each curl, giving you that salon-worthy look.
- Frizz Control: Say goodbye to flyaways and hello to smooth, sleek curls.
- Long-Lasting Results: Gel curls can last for days, even with minimal maintenance.
- Versatility: From beachy waves to bouncy ringlets, gel curling can create any style you desire.
So, if you’re ready to take your curl game to the next level, keep reading. We’ve got all the info you need to get started!
- Emily Osment Naked Addressing Misinformation And Highlighting Emily Osments Career
- Lyra Crow Leaks Unveiling The Truth Behind The Controversy
Choosing the Right Gel for Your Hair Type
Not all gels are created equal, and picking the right one is crucial for achieving those perfect curls. Your hair type plays a significant role in determining which gel will work best for you. Let’s break it down:
For Fine Hair
If you’ve got fine hair, you’ll want a lightweight gel that adds definition without weighing your strands down. Look for gels that are labeled as “non-crunchy” or “lightweight.” These will give you bouncy curls without making your hair feel stiff.
For Thick Hair
Thick hair needs a bit more hold, so opt for a stronger gel. A medium to strong-hold gel will help keep your curls in place without compromising on definition. Just make sure to apply it evenly to avoid clumping.
For Curly Hair
If you’re naturally curly, a defining gel is your best friend. These gels enhance your natural curl pattern and reduce frizz, leaving your curls looking polished and hydrated.
Pro tip: Always read the ingredients list. Avoid gels with alcohol, as they can dry out your hair and lead to unwanted frizz.
The Step-by-Step Gel Curl Guide
Now that you’ve got the right gel, it’s time to put it to work. Follow these simple steps to achieve flawless curls every time:
Step 1: Prep Your Hair
Start with clean, damp hair. Wet hair absorbs gel better, so make sure your strands are not completely dry. If you’re using a shampoo and conditioner, choose ones that are sulfate-free to keep your curls hydrated.
Step 2: Apply the Gel
Apply a generous amount of gel to your hair, focusing on the mid-lengths to ends. Use your fingers to scrunch the gel into your hair, working in small sections. This ensures even distribution and prevents clumping.
Step 3: Create Your Curls
Now comes the fun part—curling! You can use your fingers to create loose waves or a comb to make tighter curls. For a more polished look, try using a diffuser attachment on your hairdryer. This will help set the curls without causing frizz.
Step 4: Let It Dry
Once you’ve curled your hair, let it dry completely. Avoid touching your curls while they’re drying, as this can disrupt the shape. If you’re in a rush, you can use a hairdryer on a low heat setting to speed up the process.
Step 5: Finish with a Light Hold
After your curls are dry, finish with a light hairspray or setting spray to lock in the style. This will keep your curls looking fresh all day long.
Tips and Tricks for Gel Curling Success
Want to take your gel curling skills to the next level? Here are some insider tips to help you achieve salon-worthy curls:
- Don’t Overapply: Too much gel can weigh your hair down and make it look stiff. Stick to a quarter-sized amount for short hair and a golf ball-sized amount for longer hair.
- Use the Scrunching Technique: Scrunching your hair as you apply the gel helps lift the roots and adds volume to your curls.
- Stay Patient: Let your curls dry completely before touching them. Patience is key to achieving defined, bouncy curls.
- Experiment with Different Tools: Don’t be afraid to try different tools, like rollers or curling wands, to create unique curl patterns.
Remember, practice makes perfect. The more you experiment with gel curling, the better you’ll get at it.
Common Mistakes to Avoid
Even the best curlers make mistakes sometimes. Here are a few common pitfalls to watch out for:
Using Too Much Heat
While heat tools can enhance your curls, overusing them can damage your hair. Stick to low heat settings and always use a heat protectant spray.
Touching Your Curls While They’re Drying
As tempting as it may be, resist the urge to touch your curls while they’re drying. This can cause frizz and disrupt the shape of your curls.
Skipping the Conditioning Step
Conditioning is essential for keeping your curls hydrated and healthy. Make sure to use a moisturizing conditioner to keep your hair soft and shiny.
Styling Your Gel Curls
Once you’ve achieved your perfect curls, it’s time to style them. Here are a few ideas to get you started:
For a Casual Look
Loose waves are perfect for a relaxed, everyday style. Simply scrunch your curls with your fingers and let them fall naturally.
For a Formal Look
Tighter curls work great for formal occasions. Use a comb or curling wand to create defined spirals and finish with a strong-hold hairspray.
For a Vintage Inspired Style
Roller sets are a classic way to achieve vintage curls. Wrap your hair around rollers and let them set overnight for a glamorous look.
How to Maintain Your Gel Curls
Once you’ve achieved your dream curls, it’s important to maintain them. Here’s how:
- Sleep on a Silk Pillowcase: Silk reduces friction, which helps preserve your curls overnight.
- Avoid Washing Daily: Washing your hair too often can strip it of natural oils and lead to frizz. Try washing every other day or using dry shampoo.
- Reapply Gel as Needed: If your curls start to lose definition, lightly reapply gel to refresh them.
With a little care and maintenance, your gel curls can last for days!
Gel Curling Myths Debunked
There’s a lot of misinformation out there about gel curling. Let’s debunk some of the most common myths:
Myth: Gel Curls Are Only for Curly Hair
Fact: Anyone can benefit from gel curling, regardless of their natural hair texture. It’s a versatile technique that works for all hair types.
Myth: Gel Curls Damage Your Hair
Fact: When done correctly, gel curling is safe for your hair. Just make sure to use a high-quality gel and avoid excessive heat.
Myth: Gel Curls Don’t Last Long
Fact: With the right techniques and products, gel curls can last for several days. Proper maintenance is key to extending their lifespan.
Conclusion: Take Your Curl Game to the Next Level
So there you have it—everything you need to know about gel curling. From choosing the right gel to mastering the technique, this guide has got you covered. Remember, practice makes perfect, so don’t be afraid to experiment and find what works best for you.
Now it’s your turn! Try out these tips and let us know how they work for you. Leave a comment below or share this article with your friends. And if you’re looking for more haircare tips, be sure to check out our other articles. Happy curling, folks!
Table of Contents
- Facecheck Id Your Ultimate Guide To Identity Verification Solutions
- Exploring Ullu The Rising Star In The Indian Entertainment Industry